Baking in Makeup: A Comprehensive Guide
Baking in makeup, a technique made famous by drag queens, has been embraced by beauty enthusiasts to achieve a flawless, long-lasting finish. This process involves applying a thick layer of setting powder to the skin, allowing it to “bake” or set for several minutes before dusting it off. The result is a crease-free, bright, and matte look that holds up under the scrutiny of bright lights and long days. In this blog post, we will take you through each step of the baking process, from priming and prepping your skin to finishing off the look. By understanding and mastering these steps, you will not only enhance your makeup routine but also ensure a radiant and enduring finish that highlights your natural beauty. So, let’s dive into the world of makeup baking and explore each phase to perfection.
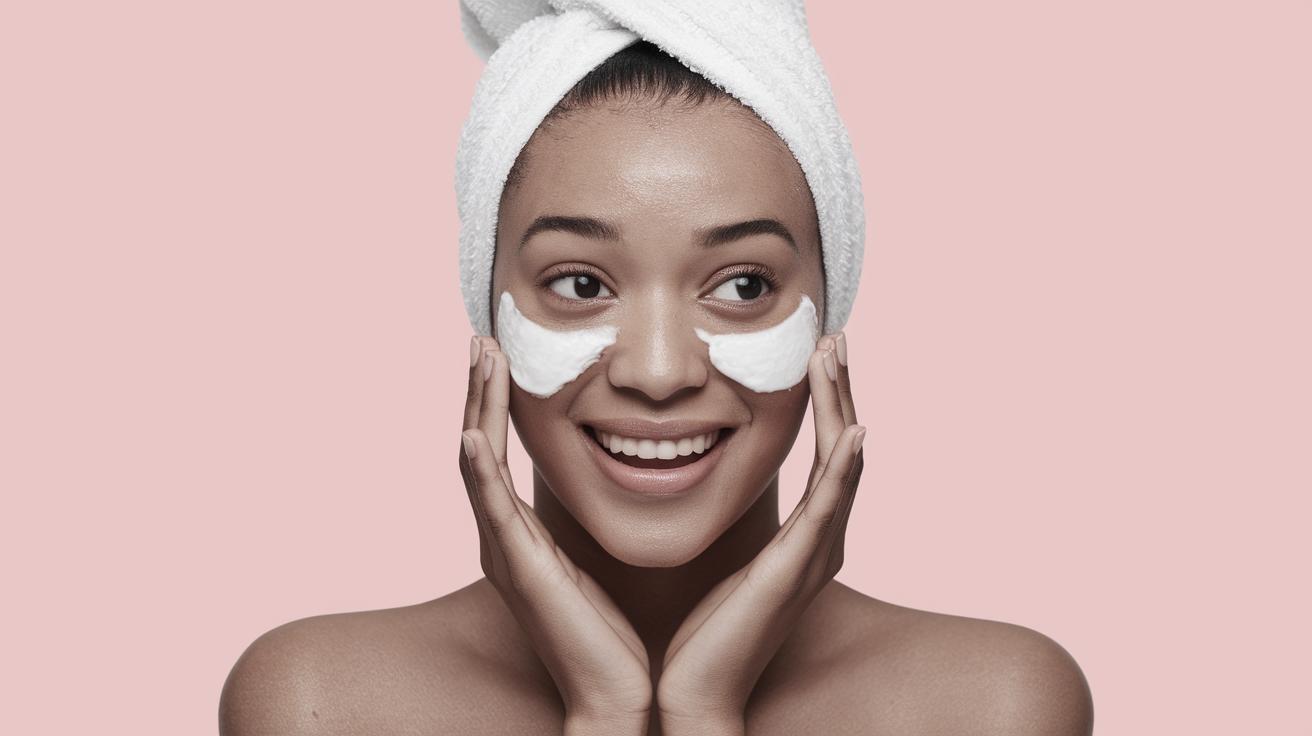
Prime and Prep
Before you embark on the baking technique, it is crucial to lay down a solid foundation—quite literally. Priming and prepping your skin forms the base for any makeup look, and baking is no exception. Start by cleansing your face to remove any excess oils or impurities that could interfere with your makeup application. Follow this with a hydrating moisturizer to ensure your skin remains supple and radiant throughout the day.
Once moisturized, it’s time to apply a primer. A good primer not only smooths out your skin’s texture but also minimizes the appearance of pores and controls shine. For those with oilier skin types, opt for a mattifying primer, whereas individuals with dry skin should consider something more hydrating. The primer acts as a barrier, reducing the likelihood of your foundation and concealer creasing or slipping as the day progresses. With your skin primed and ready, you have laid a solid groundwork for the rest of the baking process.
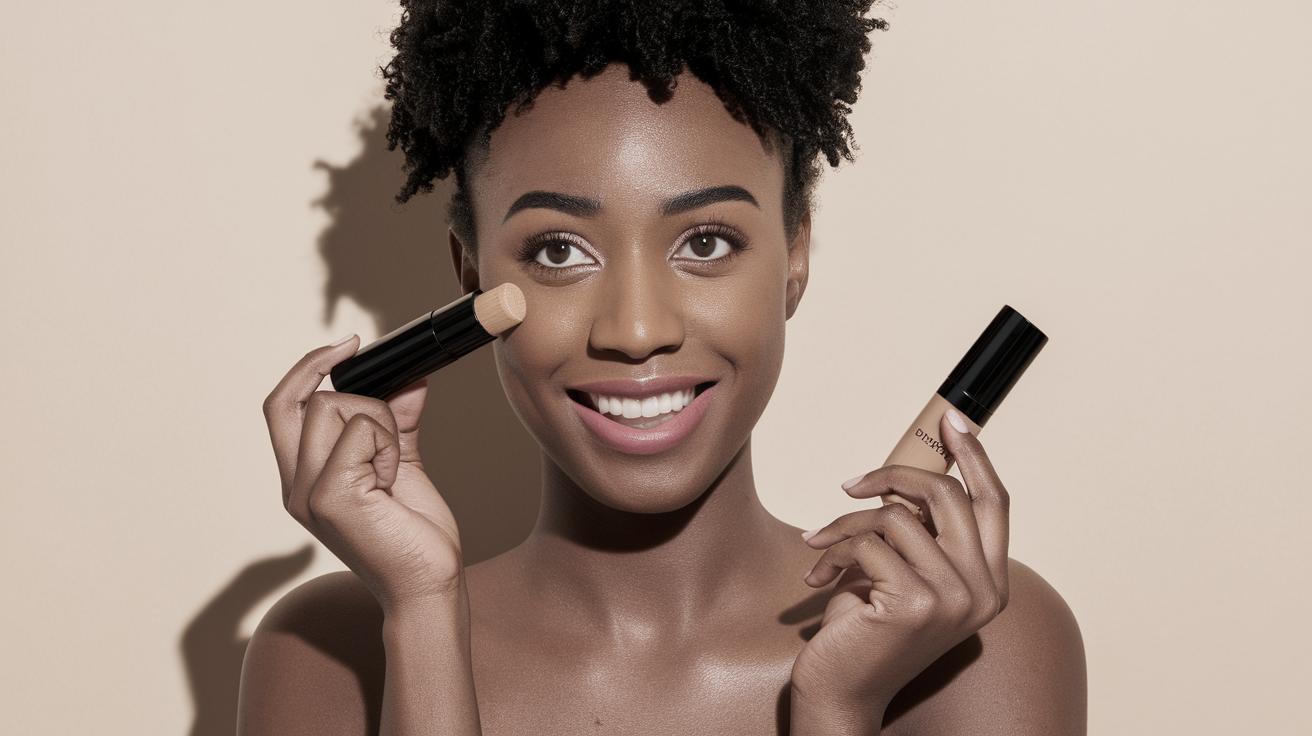
Apply Foundation
The foundation is the canvas upon which your makeup fantasy comes to life. Choose a foundation that matches your skin tone to ensure a seamless blend. Opt for a medium to full coverage formula that can withstand the baking process without looking cakey or heavy, as baking can amplify any irregularities.
Apply your foundation using a damp beauty sponge or a foundation brush for an even finish. Work the product into your skin with gentle dabs and sweeps, focusing on achieving a uniform complexion. Make sure to blend the foundation down your neck to prevent any harsh lines or color discrepancies. With your base flawlessly applied, you’re ready to move on to the key element of baking—concealing and brightening.
Apply Concealer Under Eyes
The under-eye area requires careful attention when baking in makeup. A layering of concealer not only camouflages dark circles but also creates the perfect base for the baking powder to adhere to. Select a concealer that is one to two shades lighter than your foundation for a radiant, highlighted effect.
Use the concealer to form a triangular shape under your eyes, with the base along your lash line and the point extending towards your cheek. Blend the edges softly with a damp beauty sponge to avoid harsh lines. The key here is to ensure the product is evenly distributed and smoothed out before moving on to the next step. Without a well-applied concealer, the baking process won’t yield the optimal brightened finish most beauty enthusiasts seek.
Get to Baking
Now comes the centerpiece of this technique: baking. Take a loose translucent setting powder and, with a sponge or dense powder puff, apply a generous amount of powder over the areas where you’ve applied concealer. These typically include the under-eye area, the T-zone, the chin, and beneath the cheekbones.
Allow the powder to “bake” on your face for about 5 to 10 minutes. During this time, your body heat acts like a natural element to set your makeup, enabling the formula to fill in lines and pores, leaving a smooth finish. Baking works its magic by absorbing excess oils, a critical step for all-day wear and a matte appearance. Once the powder has been allowed to set, you’re nearly ready for the final step of the technique.
Brush Off The Excess Powder
Once the baking period is complete, the next step involves removing excess powder to reveal the brightened, flawless complexion beneath. Using a fluffy brush, gently sweep away the excess powder from your face. Take care to brush away with soft, circular motions as this will prevent streaking and uneven patches.
The powder leftover on your skin should blend seamlessly with the rest of your makeup, creating a natural, smooth look. If you prefer a more dewy finish, you can apply a light spritz of setting spray at this stage, which will help meld all the layers together and add a touch of luminosity. With the excess powder removed, you’ll begin to see the transformative effect that baking has on your makeup.
You’re Baked, Beautiful
Congratulations, you’ve successfully baked your makeup! By mastering this technique, you’ve achieved a look that boasts staying power and beauty. The final result of baking is a bright, flawless complexion that resists creasing and remains mattified throughout the day. This method is perfect not only for special occasions but also for everyday wear when longevity is crucial.
Take a moment to admire your hard work before finishing off your routine with your favorite blush, highlighter, and lip color. Whether you’ve got a day full of meetings or an evening of celebrations ahead, your baked face is ready to shine through it all. Now go ahead and share this newfound skill with your friends, and don’t be surprised when they start asking for your beauty secrets!
Lessons Learned
| Step | Summary |
|---|---|
| Prime and Prep | Set the stage with clean and moisturized skin, followed by a suitable primer to ensure longevity and smooth application. |
| Apply Foundation | Even out your complexion by applying a matching foundation, creating a seamless base for the baking process. |
| Apply Concealer Under Eyes | Brighten and smooth under-eye areas with a lighter concealer to form the perfect base for baking powder. |
| Get to Baking | Apply a generous layer of translucent powder to key areas, letting it set for 5-10 minutes for optimal results. |
| Brush Off The Excess Powder | Gently remove excess powder to reveal a creaseless, bright complexion that’s ready for all-day wear. |
| You’re Baked, Beautiful | Finish with additional makeup products for a polished look that shines throughout any event. |