Introduction: Eyeshadow Blending 101
Mastering the art of eyeshadow blending can seem daunting, especially for beginners venturing into the enchanting world of eye makeup. But fear not! This guide is designed to walk you through the entire process step by step, ensuring your eyeshadow is seamlessly blended to perfection. From understanding the basics to executing advanced techniques, you’ll be equipped with the necessary tools and knowledge to turn your eyelids into a masterpiece. Whether you’re preparing for a casual day out or a glamorous evening event, seamless eyeshadow blending can elevate your look and boost your confidence. Let’s dive into the world of colors, brushes, and techniques as we uncover the secrets to flawless eyeshadow blending.
Step 1: Preparation is Key
Just like a painter prepares a canvas before starting their artwork, preparing your eyelids before applying eyeshadow is crucial for optimal results. Start by cleansing your face, focusing particularly on the delicate skin around your eyes. This removes any excess oils or residual makeup, creating a clean base for applying eyeshadow.
Next, apply an eyeshadow primer to your eyelids. A primer not only helps the eyeshadow adhere better but also enhances its color and longevity. If you don’t have an eyeshadow primer, a concealer will do the trick. Gently dab it onto your lids and blend it evenly to ensure an even application. This initial step ensures your makeup remains vibrant and stays in place throughout the day.
Step 2: Gather Your Tools
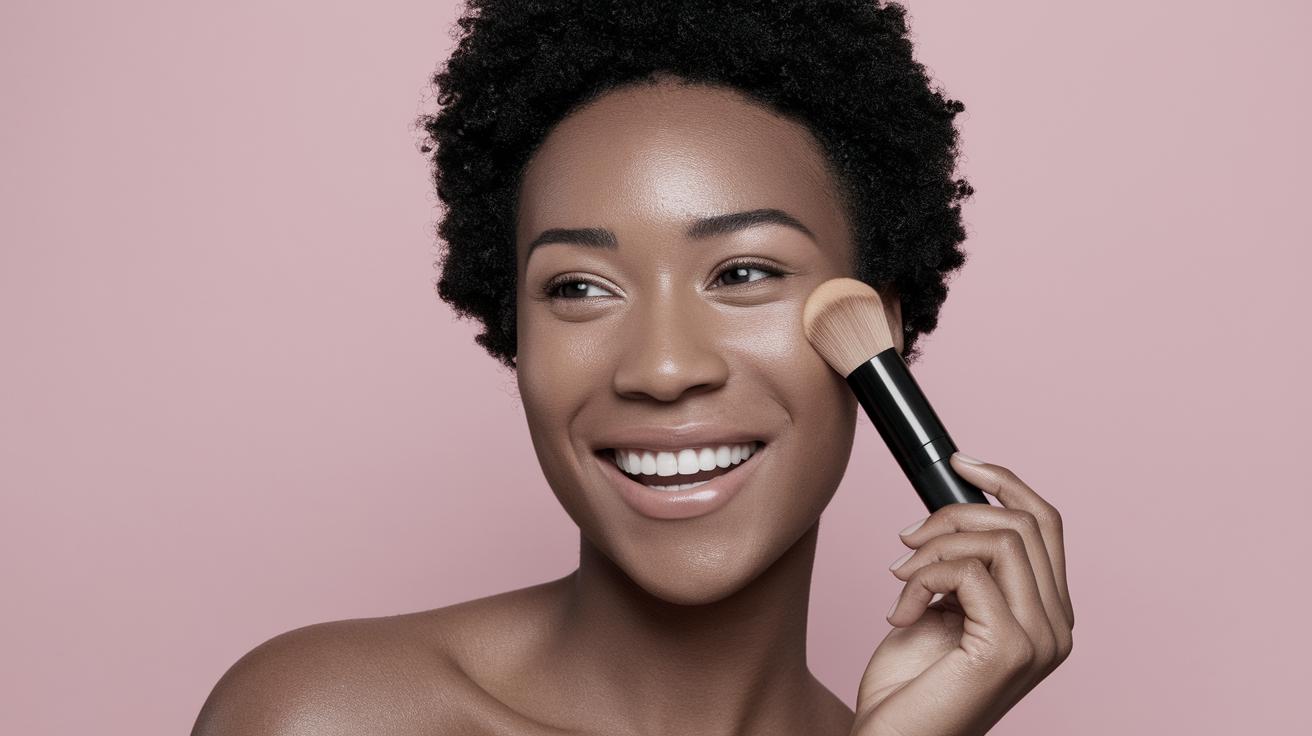
Having the right tools can make all the difference in achieving that seamless blend. Invest in a set of good quality eyeshadow brushes. At the very least, you should have a flat shader brush for packing on color, a fluffy blending brush for blending out edges, and a smaller detail brush for precise application.
Quality brushes deliver superior results compared to sponges or applicators that often come with eyeshadow palettes. They give you greater control, allowing for precision and ease as you work the colors together. Regularly cleaning your brushes is also essential. Clean brushes prevent the accumulation of old makeup and bacteria, ensuring seamless colors and healthy skin.
Step 3: Choose Your Colors
Color selection is pivotal in achieving a charming eyeshadow look. Start with a neutral base color that complements your skin tone. This base creates a foundation that allows for smoother blending of other colors. When picking additional shades, it’s useful to choose colors within the same family or those that complement one another, especially if you’re a beginner.
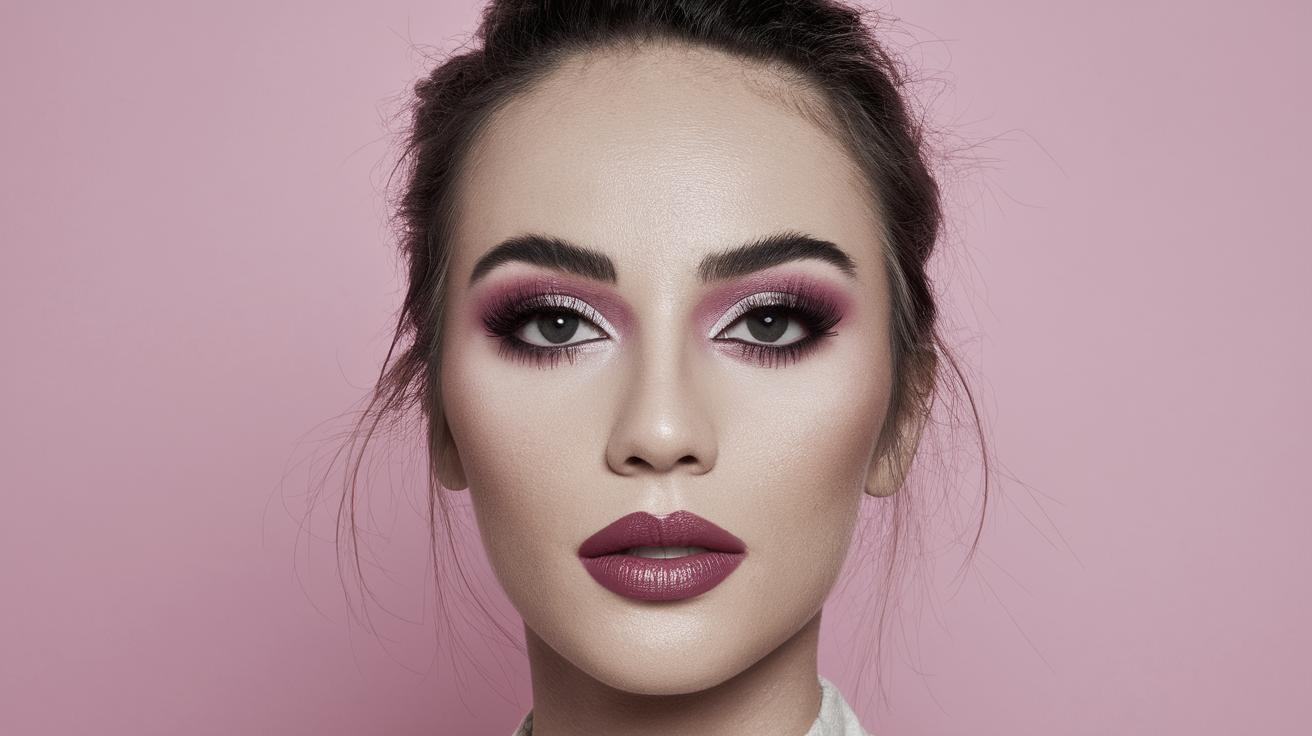
Vibrant colors are always enticing, but balancing them with neutrals can lead to a more wearable look. For example, if you’re choosing a bold purplish hue, pairing it with soft pinks or browns can balance the intensity and enhance the overall look. Experimenting with different combinations can help you discover the ideal palette for your style and occasion.
Step 4: Layer with Precision
Applying eyeshadow is all about strategic layering. Start by applying the base color using the flat shader brush, sweeping it across the entire eyelid. Be gentle and avoid overloading the brush with product. A sheer application goes a long way, especially when multiple layers are involved.
Next, introduce a medium-toned shade at the crease of your eyelid. Using a windshield wiper motion with a fluffy brush ensures the color is seamlessly applied. This step adds depth and dimension to your eyes. Take your time and blend well, as this lays the groundwork for the additional colors to come.
Step 5: Deepen the Crease
Depth is crucial for creating standout eye looks. Using a smaller blending brush, apply a darker shade at the outer corner of your eye and slowly work it into the crease. Initially, focus on the outer third of your eyelid to build intensity before slowly moving it towards the center.
This technique shapes your eyes, creating a more defined and dramatic appearance. As you blend, remember to keep a light hand and use small circular motions. The goal here is to diffuse any harsh lines and ensure the transition of colors appears natural and soft.
Step 6: The Power of Blending
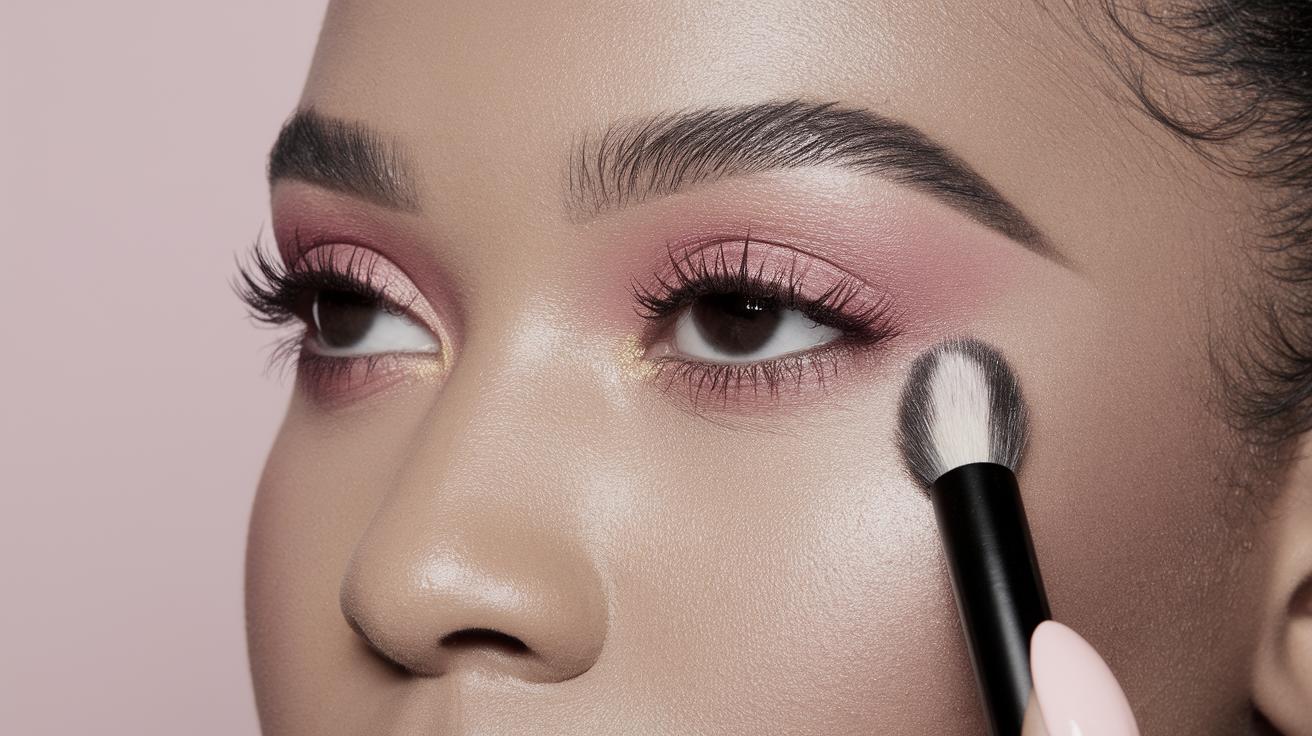
Blending is the essence of perfect eyeshadow application. It’s crucial to remember that blending doesn’t equal mixing the colors into oblivion. It involves softening any edges to create a smooth transition between the shades. A clean fluffy brush is ideal for this purpose.
When blending, consider the direction: start at the edges and blend inward. This method prevents excessive diffusion, ensuring each color maintains its rightful place while seamlessly transitioning into the next. Regularly cleaning your blending brush during this process will prevent the muddying of colors, allowing for a cleaner, more distinguished outcome.
Step 7: Brighten the Inner Corners
Brightening the inner corners of your eyes can instantly make your eyes appear more awake and lively. Select a light shimmer or matte color that suits your look. Using a small detail brush, gently apply this shade to the inner corner of your eyes and slightly extend it into the lower lash line.
This little touch opens up the eyes and adds an elegant lift to your overall look. It’s a simple gesture but makes a noticeable difference, particularly when paired with a more intense overall eye look. A white or champagne color is universally flattering and can harmoniously tie the whole look together.
Step 8: Highlight the Brow Bone
The area beneath your eyebrows can serve as a canvas for accentuating the arch of your brows and elevating your eyeshadow look. Opt for a soft, light, matte, or slightly shimmery shade depending on your preference. Use a clean, pointed brush to apply this color directly under the brow arch.
This step highlights the brow bone and gives the illusion of lifted eyes. Blending is again key here; ensure the highlight shade transitions smoothly with the crease shade to avoid any stark lines. The subtle glow creates depth and serves as the final touch to bring the entire eye look together.
Step 9: Finishing Touches
As you near the end of your eyeshadow application, it’s crucial to ensure everything is securely in place. A setting spray can help lock the look, keeping your eyeshadow vibrant and preventing the colors from creasing throughout the day.
Additionally, finish off the look with eyeliner and mascara, if desired. These elements enhance your lashes and eye shape, adding definition and drama to complete your eyeshadow masterpiece. Depending on your personal style and the occasion, you can opt for subtle enhancements or go for bold, dramatic lines.
Step 10: Finito!
And there you have it! With these ten steps, you can blend eyeshadow seamlessly like a pro. Remember, the key is practice, experimentation, and patience. The perfect look might not happen immediately, but with each attempt, you’ll gain confidence and hone your skills.
So, gather your brushes, select your favorite palette, and let your creativity shine. With the right preparation, technique, and finishing touches, your eyes will become captivating focal points that exude charm and elegance. Happy blending!
Final Thoughts
| Step | Description |
|---|---|
| Preparation is Key | Cleanse your face and apply primer or concealer for a smooth base. |
| Gather Your Tools | Use quality eyeshadow brushes for better precision and results. |
| Choose Your Colors | Select a base color and complementary shades for a balanced look. |
| Layer with Precision | Strategically apply base and transition shades using careful layering. |
| Deepen the Crease | Add depth with a darker shade to the outer eye and crease. |
| The Power of Blending | Blend edges seamlessly for smooth transitions between shades. |
| Brighten the Inner Corners | Apply a lighter shade to inner corners for a brightening effect. |
| Highlight the Brow Bone | Add a highlight beneath eyebrows to lift and accentuate the look. |
| Finishing Touches | Use setting spray and optional eyeliner/mascara to complete. |
| Finito! | Review your work, ensuring seamless blending through practice. |